What is the perfect bake? Are you trying to figure out why your loaves keep burning or wondering how to get more oven spring? Are you lost in all the conflicting advice about baking temperatures and methods? Do you prefer hard crust or lightly crispy crust?
We all like our sourdough slightly different, but there are certain characteristics every baker shoots for. This article will provide you all the practical tips you need to perfect your sourdough technique and master your perfect bake.
Note: This page contains Affiliate Links. If you click on any of the items and make a purchase, our family will receive a small commission at no extra cost to you. I will only ever link items I use or would buy for myself after thorough research. Thank you for your support! Happy Baking!

What should you consider when you think about the perfect bake?
There are three stages of the baking process:
- The rise
- The set (or hardening off) –
- The toasting process
For the perfect bake you need all three of these things to go perfectly.
#1 – Oven Spring (“The Rise”)
For optimal oven spring you need to have 4 elements:
- Well proofed dough (not underproofed, or overproofed)
- Good Surface Tension (sometimes this takes practice)
- Proper cooking temperatures – for best oven spring you need well-rested, cold dough and extremely high temps
- Steam – Use more than you think you need – if you are struggling with oven spring, consider adding icecubes
- Scoring – also called the baker’s signature. This simply opens a space in your carefully crafted surface tension for the dough to go when it rises.
For more in depth information on each of these elements, read my article: How to get Amazing Oven Spring – Sourdough Baking series
#2 – Hardening off
Wait at least 22-27 minutes before opening your oven or pots – to make sure the integrity of the crust has formed enough not to fall when disturbed.
This step is really a no brainer and you probably won’t ever have to worry about it. But, if you are really excited to check on your bread or you are trying to take it out of the pots before the bottom burns, you might accidentally open your oven or pots too soon.
#3 – Caramelization
Caramelization is simply the darkening in color of your bread crust that happens during baking. It is caused by the reaction of heat with the sugars in your dough – bringing out the change in colors and flavors. Steam prevents this from happening too soon at high temps.
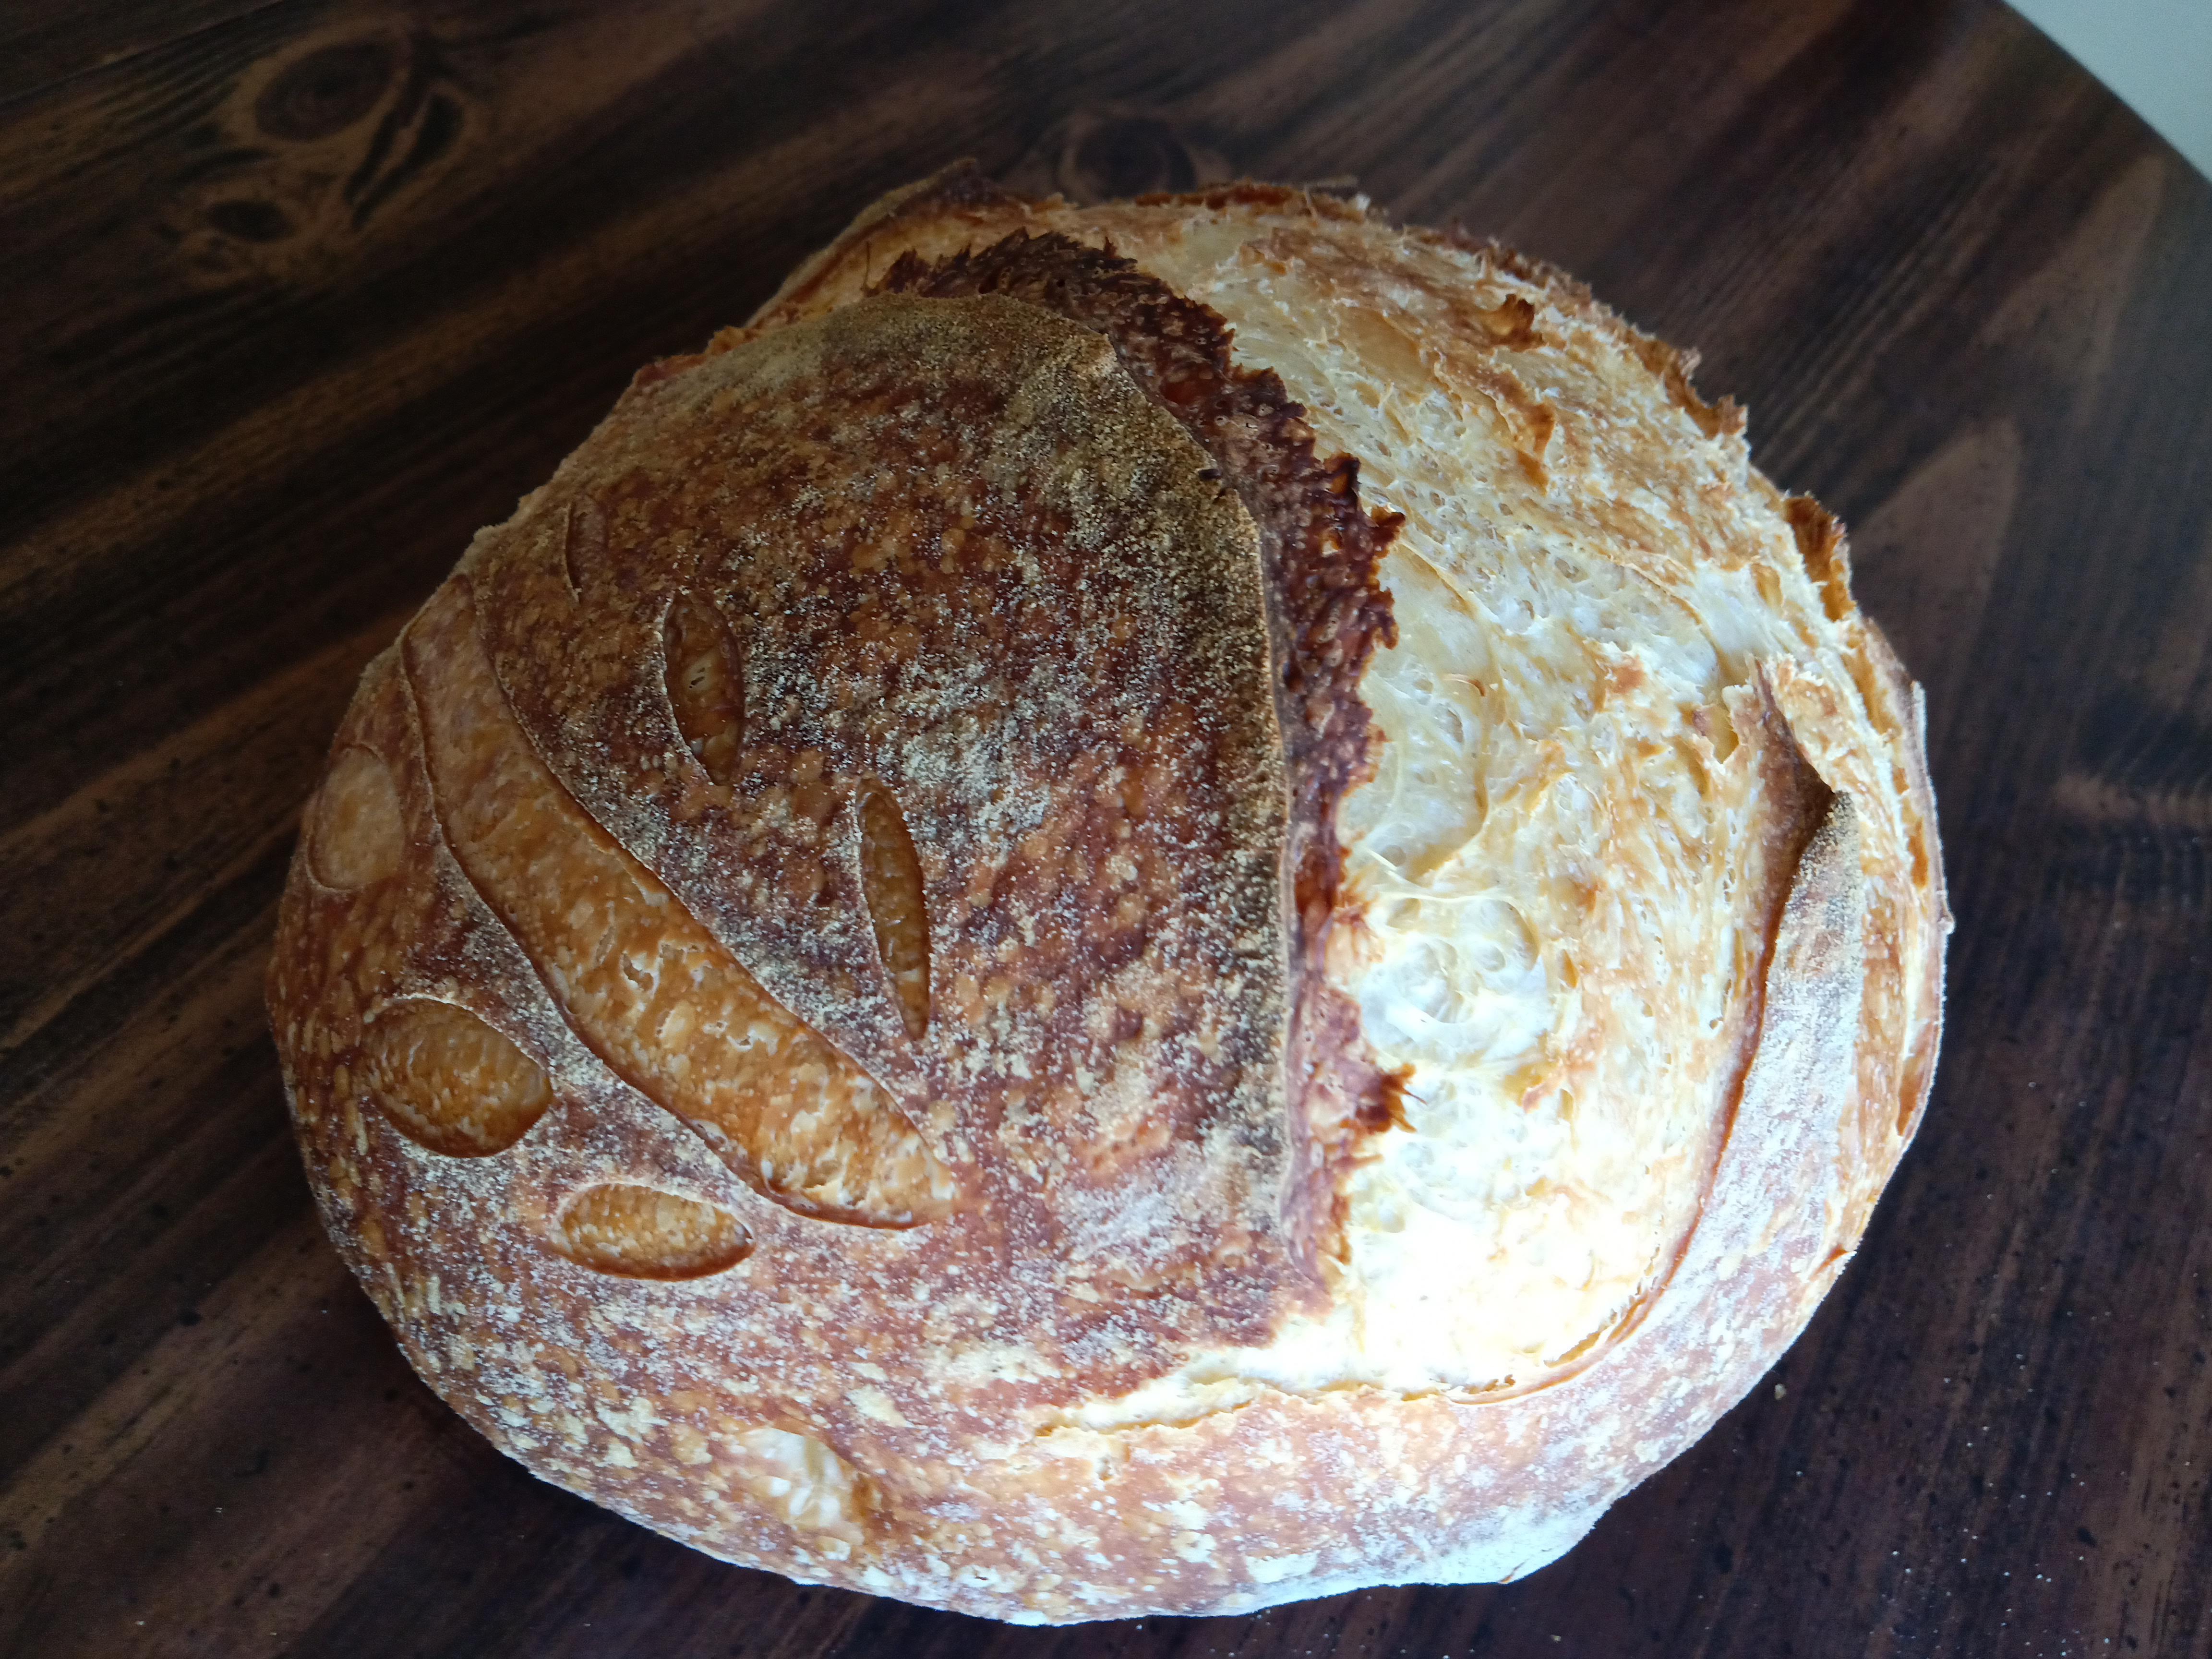
Everyone loves a nice caramel-y crust but not everyone wants it so dark that it is reminiscent of burnt… or so crispy that it is hard to bite. Seasoned sourdough purists tend to prefer a super dark, very hard crust on the outside, my kids prefer a more “blonde” loaf, and I am somewhere in the middle – super blistery and crispy but not so hard it feels like a cracker.
Think of your oven as a toaster. Once your loaf is done rising, it just needs the outside to crisp up to help it hold its shape and get to the perfect level of toasty-ness for your family. The closer your loaf is to the heat source, the faster that part will toast.
- This is why many homebakers will use two stones in their oven (one beneath their loaves and one on top – to radiate heat downward too.
- It is also why I try to take my loaves off the stone or out of the pot to finish crisping up once they are done rising and hardened off. So that the bottoms don’t burn.
Caramelization has everything to do with baking temps and time.

How do I know what temperature I need for my perfect bake?
Sourdough is traditionally baked at searing hot temperatures (for most impressive oven spring and caramelization). I always start at 500F and drop to 450F midbake. But, if you are worried about too much energy usage to preheat dutch ovens for an hour, etc, you can easily start with cold loaves, cold pans, and a cold oven.
For best results with the cold bake method:
- Have really strong surface tension on your loaves before baking – So that they don’t spread more than rise.
- You can use a lower hydration dough (73-75%) to help the dough hold its shape
Cold Bake Method:
- Crank temps to 500F immediately. Set timer for 25 min. (“Preheating” time is included in this)
- At 25min, insert empty baking sheet on the rack immediately below your pans, set timer for another 7-10 min.
- At 10min, turn the temperature down to 450F and set the timer for another 10 min.
- Once the full 45 minutes have passed, carefully remove your lids and check your loaves.
- If any further browning is desired, remove from pans and finish on rack.
Weak Surface tension?
When you are still practicing your surface tension forming skills you may end up with some wider, “flatter” bread especially using the cold bake method (since this method takes longer to arrive at the hardening off stage)
No Worries!
Wide, flat bread is great for giant deli sandwiches (like Muffulettas), croutons, breadcrumbs, bread pudding, and people who like thicker crust.
Hot Bake Option:

Necessary for impressive oven spring. Also helpful for salvaging overproofed dough.

Troubleshooting your perfect bake – common FAQs
How do I get more steam?
I talk a lot about steam in my post on Getting Good Oven Spring, so for more info go there.
One quick note, if you want more steam in your Dutch Oven because you feel your loaf is hardening off too soon (before your loaf has time to fully rise), you can put a few ice cubes in your Dutch Oven (4-5 is plenty).
This produces an AMAZING, shiny, crackling crust, BUT, be sure to use a sheet of parchment paper underneath your loaf and put the ice on the outside of the parchment (or your loaf will stick to the pan – FOREVER!!!).

How do I get more blisters on my crust?
Your crust will be blistery if you see those when you form your loaf. They are from CO2 formation after you have developed some surface tension (to hold them in). They are one of the tell tale signs that your loaf is ready to form. You should have a deliciously blistery crust every time.

See article on “Know your Dough” for more information.
How do I keep the bottom of my loaf from burning?
The bottom of your loaf commonly burns when baking in a dutch oven or on a stone because it is touching the heat source.
There are several ways to avoid this:
- prevent direct contact with the bottom of the Dutch Oven or stone (ie. use a layer of cornmeal, put the bottom of a spring form pan inside your dutch oven before adding your loaf, or even use BBs underneath your parchment paper).
- Diffuse the heat coming directly at the bottom of your pans – as soon as you put your loaves in, you can also put in a cold baking stone or baking dish on the rack one notch under your dutch oven.
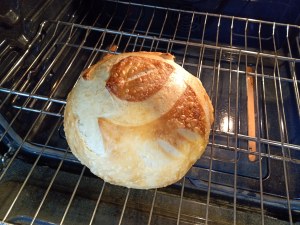
- Halfway through baking (be sure to wait at least 25-27 minutes) you can use a stiff spatula to remove the loaves from the pots/stone and set them directly on the rack to finish baking (see photos above)
Do I need parchment paper?
Parchment paper doesn’t do much in the way of preventing your crust from burning. Its purpose is to make your loaves easier to move around in the hot oven, or to keep them from sticking to your pans (see note above about extra steam).
This is especially important if you are doing more than one loaf on a baking stone. You will want to make sure that each loaf has its own sheet of parchment so that you can separate them if they threaten to fuse together during the baking process.
On the other hand, as long as you dusted the top of your loaves with flour while they were still in the proofing baskets (before flipping them into your pots) and there was no exposed, wet areas of dough, you should have no problem whatsoever with your dough sticking (even in an unlined dutch oven).
_____________
What is is your idea of a “Perfect Bake”?
Am I missing any tips in this article? Let me know below!
2 responses to “How to Get the Perfect Bake – Perfecting your Sourdough Technique”
Saved as a favorite, I love your blog!
Why thank you!