Overproofing your sourdough can be a big problem for newbie bakers – or anyone who doesn’t yet understand how sourdough works (I was still struggling with this 2 years into my baking process!)
Note: This page contains Affiliate Links. If you click on any of the items and make a purchase, our family will receive a small commission at no extra cost to you. I will only ever link items I use or would buy for myself after thorough research. Thank you for your support! Happy Baking!
I didn’t understand sourdough proofing until about 2.5 years into my sourdough journey (Sorry, I’m slow.) It was always underproofed or overproofed, or absolutely unpredictable for what seemed like forever. Sometimes I would be sure it would be amazing and it would come out like a pancake, other times I was super worried and almost threw away my dough, and it would be amazing.
Super. Frustrating. Years.
However, I seem clinically incapable of giving up (even when it would be for the best) and I hope maybe this time something good can come of it for you! 🙂
What does “Overproofing your Sourdough” mean?
You know how your starter naturally rises when it is fed, and falls when it has consumed all the food you gave it?
This is because, when the yeast is working, the byproduct is CO2 gasses that create the bubbles. Once the yeast has consumed all the fresh food you gave it, it naturally stops producing CO2 and will go flat again.
If you overproof your dough, it will (most likely) go flat.
And that is always sad 🙁

How to avoid Overproofing your Sourdough
#1 – Use a smaller ratio of starter to flour
Or in layman’s terms, just feed it more 🙂
When you bake bread you are essentially just giving your starter a giant feeding. The more food, the longer it will last.
But in technical speak: If you know you want to do a really long proof time (more than 12 hours) you can lower your starter ratio. The standard getting started ratio is 1:2:3 (starter:water:flour). Use maybe .75 instead.
This may affect your flavor profile (if you are SUPER nitpicky) or your hydration levels, so if you want to compensate with a tiny bit of extra water, you can.
#2 – Slow your rise – Proof at cooler temps
Cool without refrigerating
Sometimes you don’t want to completely refrigerate your dough but you want to slow the rise. I started putting mine in a cooler with some ice covered by a baking sheet works nicely in the summertime – even for overnight. In Spring and Fall (potentially even some cool summer nights) you can even set it outside. In the winter, I like to put it in the garage (so not freezing, but certainly not warm).
Refrigerate
You don’t want to freeze your dough but proofing in the refrigerator will extend your proof time DRASTICALLY. The yeast will seem to practically go dormant (until 3 days later, all of a sudden, you have gorgeously proofed bread).
This only works if your starter was EXTREMELY established and active. You probably don’t want to do this with a starter that is younger than a month or two old and has had regular feedings.
Long proof times also provide more depth of flavor in your breads. So, if you don’t have a lot of time to bake this is a win win!
Note* Depending on your starter ratios and how established/active it was this proofing method could take longer or shorter than you expect. Just be sure to check on the dough periodically to see how things are going, and be flexible. It will be ready when it’s ready.
Read the article on Getting to Know your Dough for more information on how to tell if your dough is ready to move to the next step.
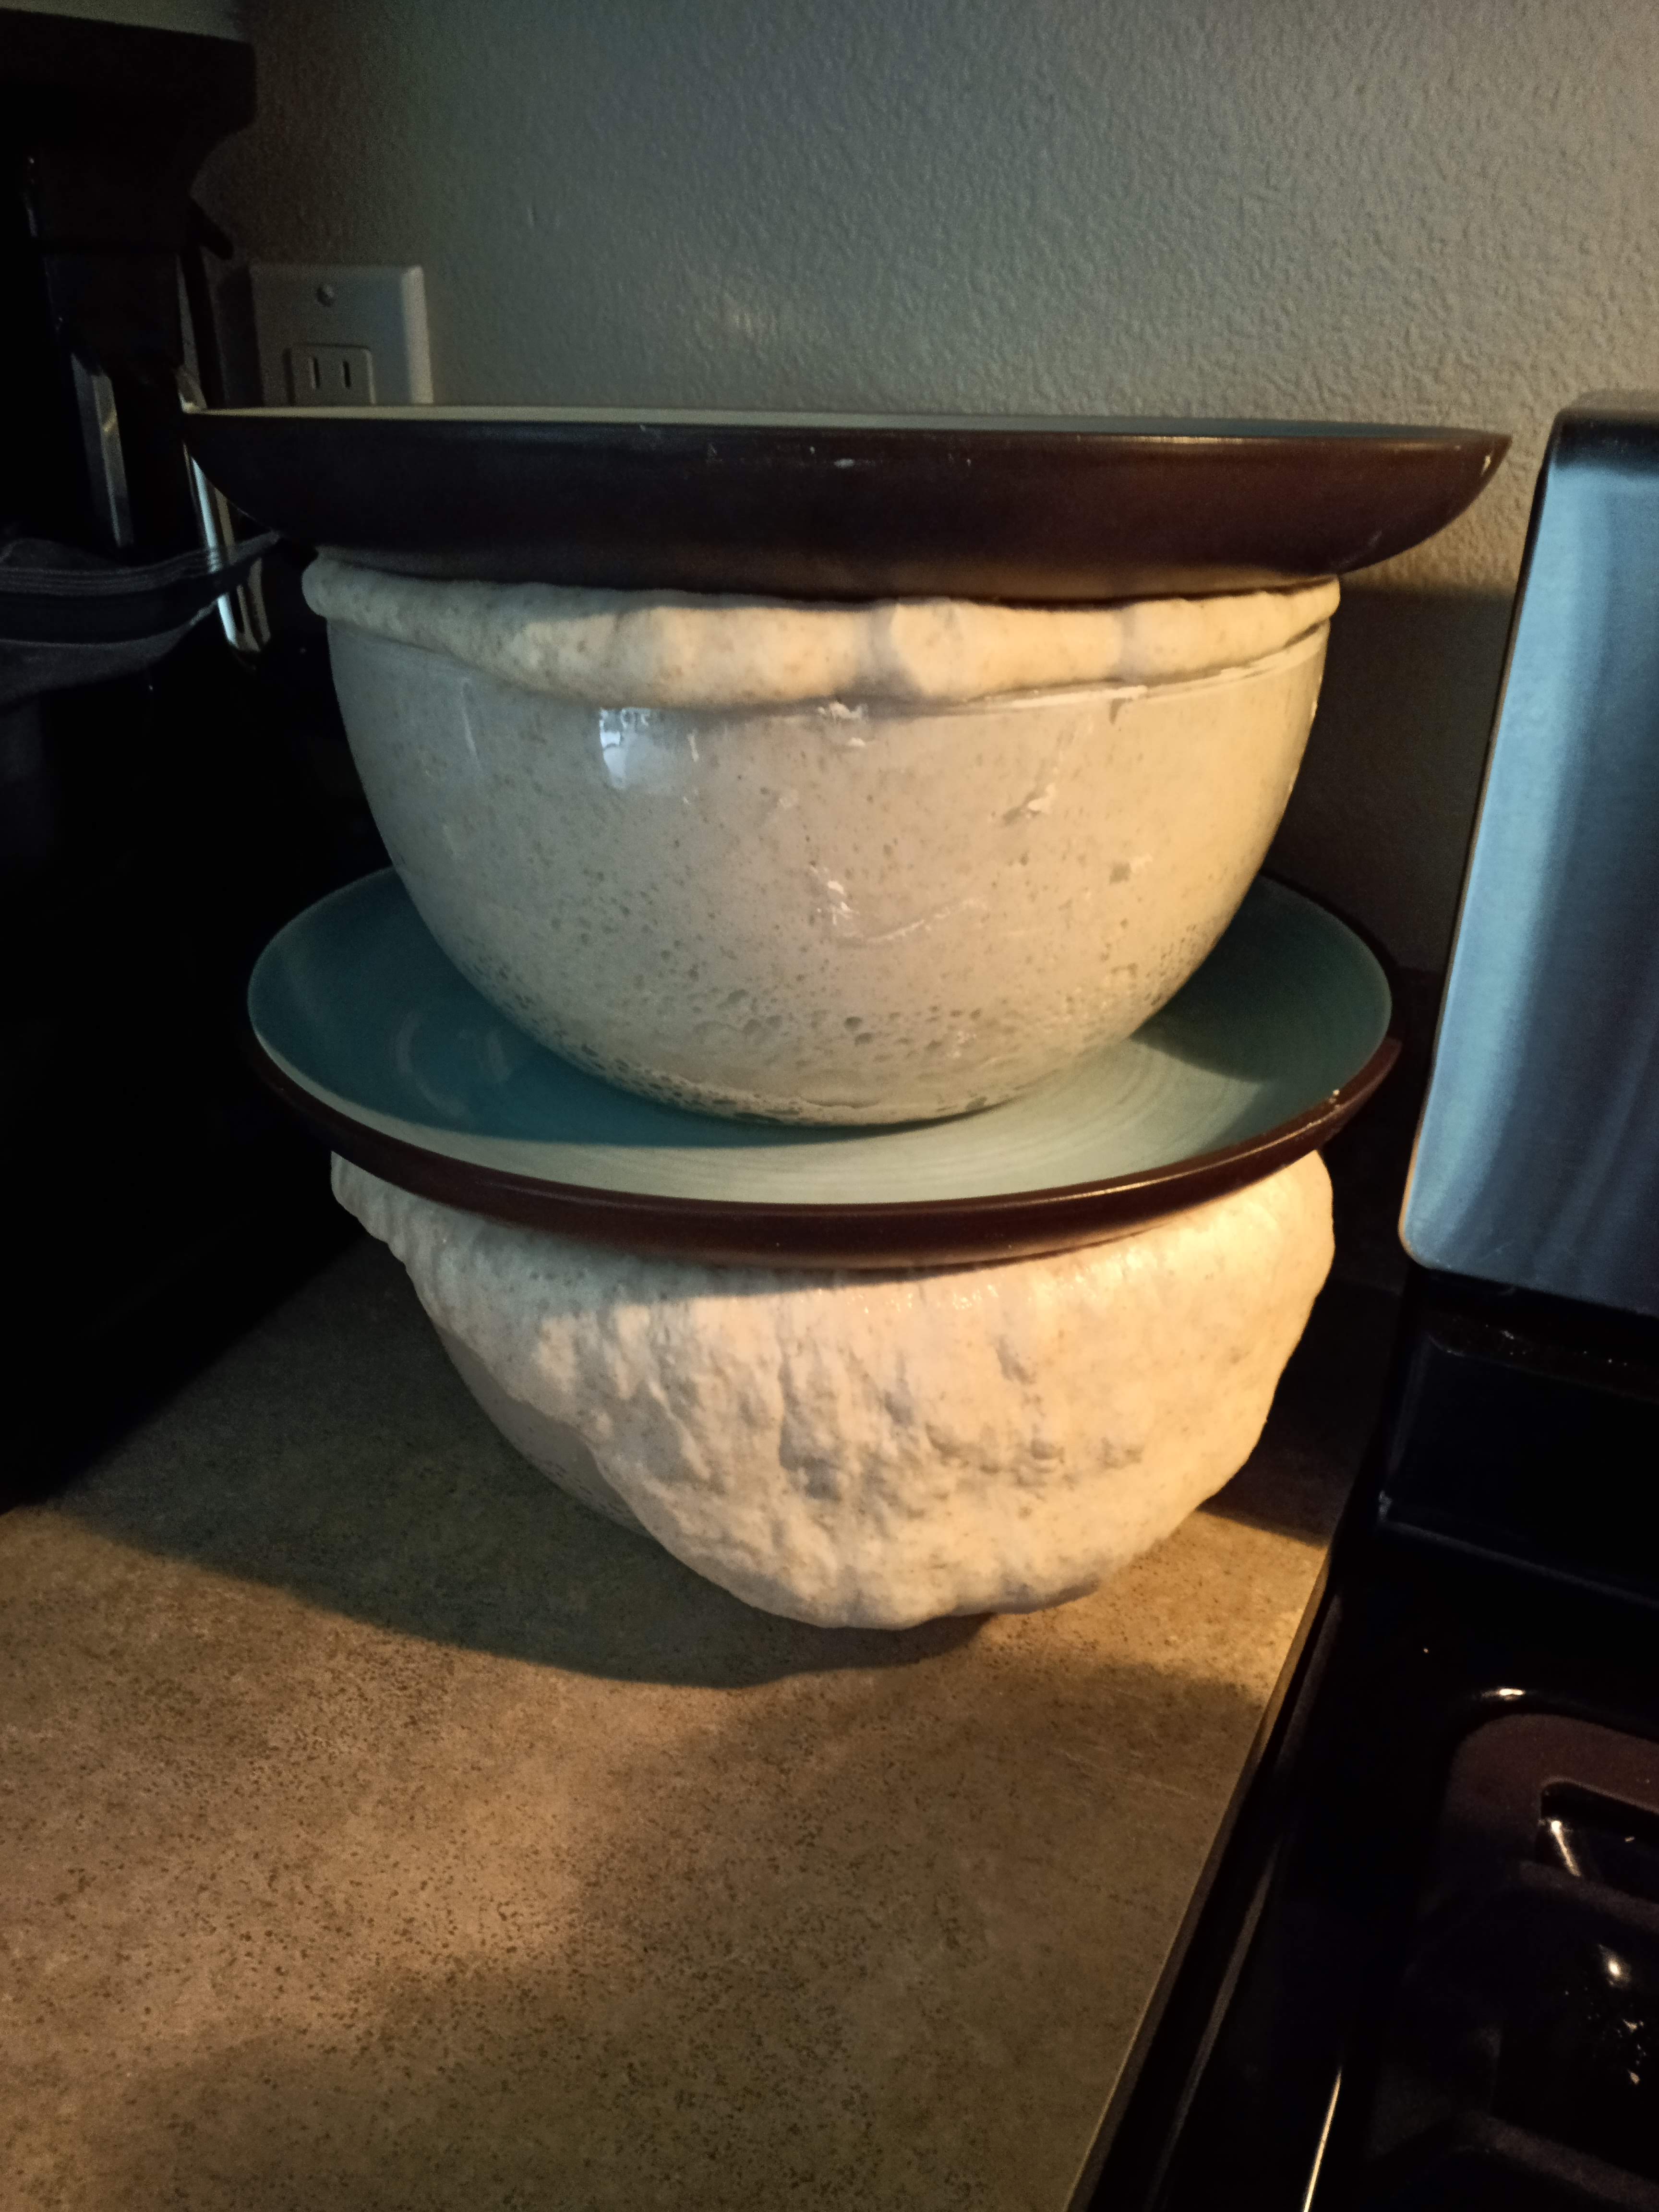
#3 – Use a smaller bowl
What?
Yes, use a bowl that is barely double the size of the mass of your dough – especially if you plan to measure your proof time by the size of the bowl.
This feels a little dumb and obvious, but for me it was an “aha” moment. I always liked to mix in a larger bowl to avoid getting flour all over the place. Even the mixing bowl of my stand mixer was pretty large when I was only making one loaf at a time.
A lot of really good advice exists out there for sourdough bakers who recommend waiting til you have a “bowlfull of bubbles” before processing the dough. But, if you are using bowl that is much larger than double the size of your loaf, it will never get that big before overproofing. *facepalm*

#4 – Give your dough more attention
You can try a more hands on method where you stretch and fold (less folds) periodically through the entire bulk ferment period (every half hour so until it doubles in volume) so that you can see and feel the dough more often and know how it’s doing.
You can also just do the bulk ferment during the day (as opposed to overnight) so you can check on it periodically and track the progress. If you do it at night and the temps are too warm (typically 73F+, more of a summertime problem), you could end up with overproofed dough without even realizing it.
#5 – Refrigerate
If you started your dough and then got interrupted, you can always just pop it in the fridge to pause your process. It will hibernate there and wait for you, pretty much as long as you need it to. Whenever you are ready to come back to it, just pull it out and let it come back to room temp (if you are still working with it)
#6 – Set yourself an alarm clock
You can use reminders on your phone as well.
I have found that since sourdough is such a hands off process, that the biggest problem is to remember that you are doing it and that you should probably check on your dough.
Oven and microwave timers are nice for some things but since they only go off once, you could easily miss them if you don’t plan to spend all your wait time hanging out in the kitchen.
Random Post-it notes are great too!

How to know if you overproofed your dough – and what to do about it…
Well, if it is really bad, your dough will deflate on its own and get soupy…. but, that’s only if you forgot about it for a week or so. Most likely you haven’t gotten to that point. But, if you have, you can pour it on a baking sheet and top it with some olive oil and herbs to make a sort of focaccia, or use as sourdough discard and make crackers, pancakes, waffles, biscuits, bagles, english muffins, or any number of other delicious sourdough discard recipes.
More commonly, if you overproof during the bulk proof stage, you may just not get as much oven spring when you bake and your dough will be more dense (typically in the center).
What to do about it?
If this happens, you can still proceed as normal. Form your loaves, but reduce the second proof time to a minimal rest period before baking – about an hour at room temp. Just use the hour your dough needs to rest to preheat your oven and pans to at least 500F before popping it in. (Check out the article on the Perfect Bake for more info).

You might also overproof your dough once the loaves have already been formed. This is the most common time to overproof, and the most salvageable, so don’t worry too much 🙂
If you go to bake and realize:
- that your formed loaf has already doubled in size in your proofing basket and
- when you touch the loaf, you are afraid that you might deflate it.
It has overproofed.
Sorry.
WHAT?! – You thought that’s what you were going for? I know. When I was starting out, I thought that’s what I was going for too – and then I wondered why I had no oven spring!
What to do if this happens?
Bake the loaf as usual but do not score. You need the surface tension to maintain the structural integrity of the loaf… plus you likely aren’t going to get any more oven spring. Make sure to use a very hot bake method to cook the crust before it has a chance to deflate, and then enjoy as usual!


On the plus side, your overproofed loaves might be deliciously extra sour… and there’s nothing wrong with that 😉

____________________________
What do you do with your overproofed dough?
Also, check out my page for all my favorite Sourdough Supplies!
3 responses to “How to Avoid Overproofing your Sourdough”
Hello,
I recently started experimenting with sourdough. I have made two successful batches and three batches where after the proofing time my dough became so soupy it was absolutely impossible to pre-shape, much less shape. My fermentation time was about 14 hours in my oven with the oven light on –I don’t have a proof setting.
It is exactly the same recipe I used previously with success. The only difference was that with the successful batch I proofed for three hours after the last fold, then pre-shaped, shaped and refrigerated overnight.
With the failed batch after the last fold I left it overnight to proof and in the morning when I took the dough out of the oven it had turned into pancake batter, so of course, it was impossible to shape. I actually had to add another whole cup of flour just to get the dough to the point where it could be formed into anything that would not splatter and completely stick to the counter, without any structure whatsoever. It was almost as though all of the structure of the gluten was completely missing.
Any help/suggestions would be appreciated!
Hello! I love how you described it as turning into pancake batter. That’s exactly what it did! haha. In the oven with the light on you should plan on a 3-6 hour proof time, no longer. If you grab a copy of my free “Know your Dough” printable you will be able to recognize the stages of your dough no matter what temp you proof at or how long. It is a great resource to get perfect bread every time. Also, with practice you will be gin to predict how long it will take based on ambient factors in your home.
Hello! I love how you described it as turning into pancake batter. That’s exactly what it did! haha. In the oven with the light on you should plan on a 3-6 hour proof time, no longer. If you grab a copy of my free “Know your Dough” printable you will be able to recognize the stages of your dough no matter what temp you proof at or how long. It is a great resource to get perfect bread every time. Also, with practice you will begin to predict how long it will take based on ambient factors in your home.