Your cart is currently empty!
How to Deal with Sourdough Mess
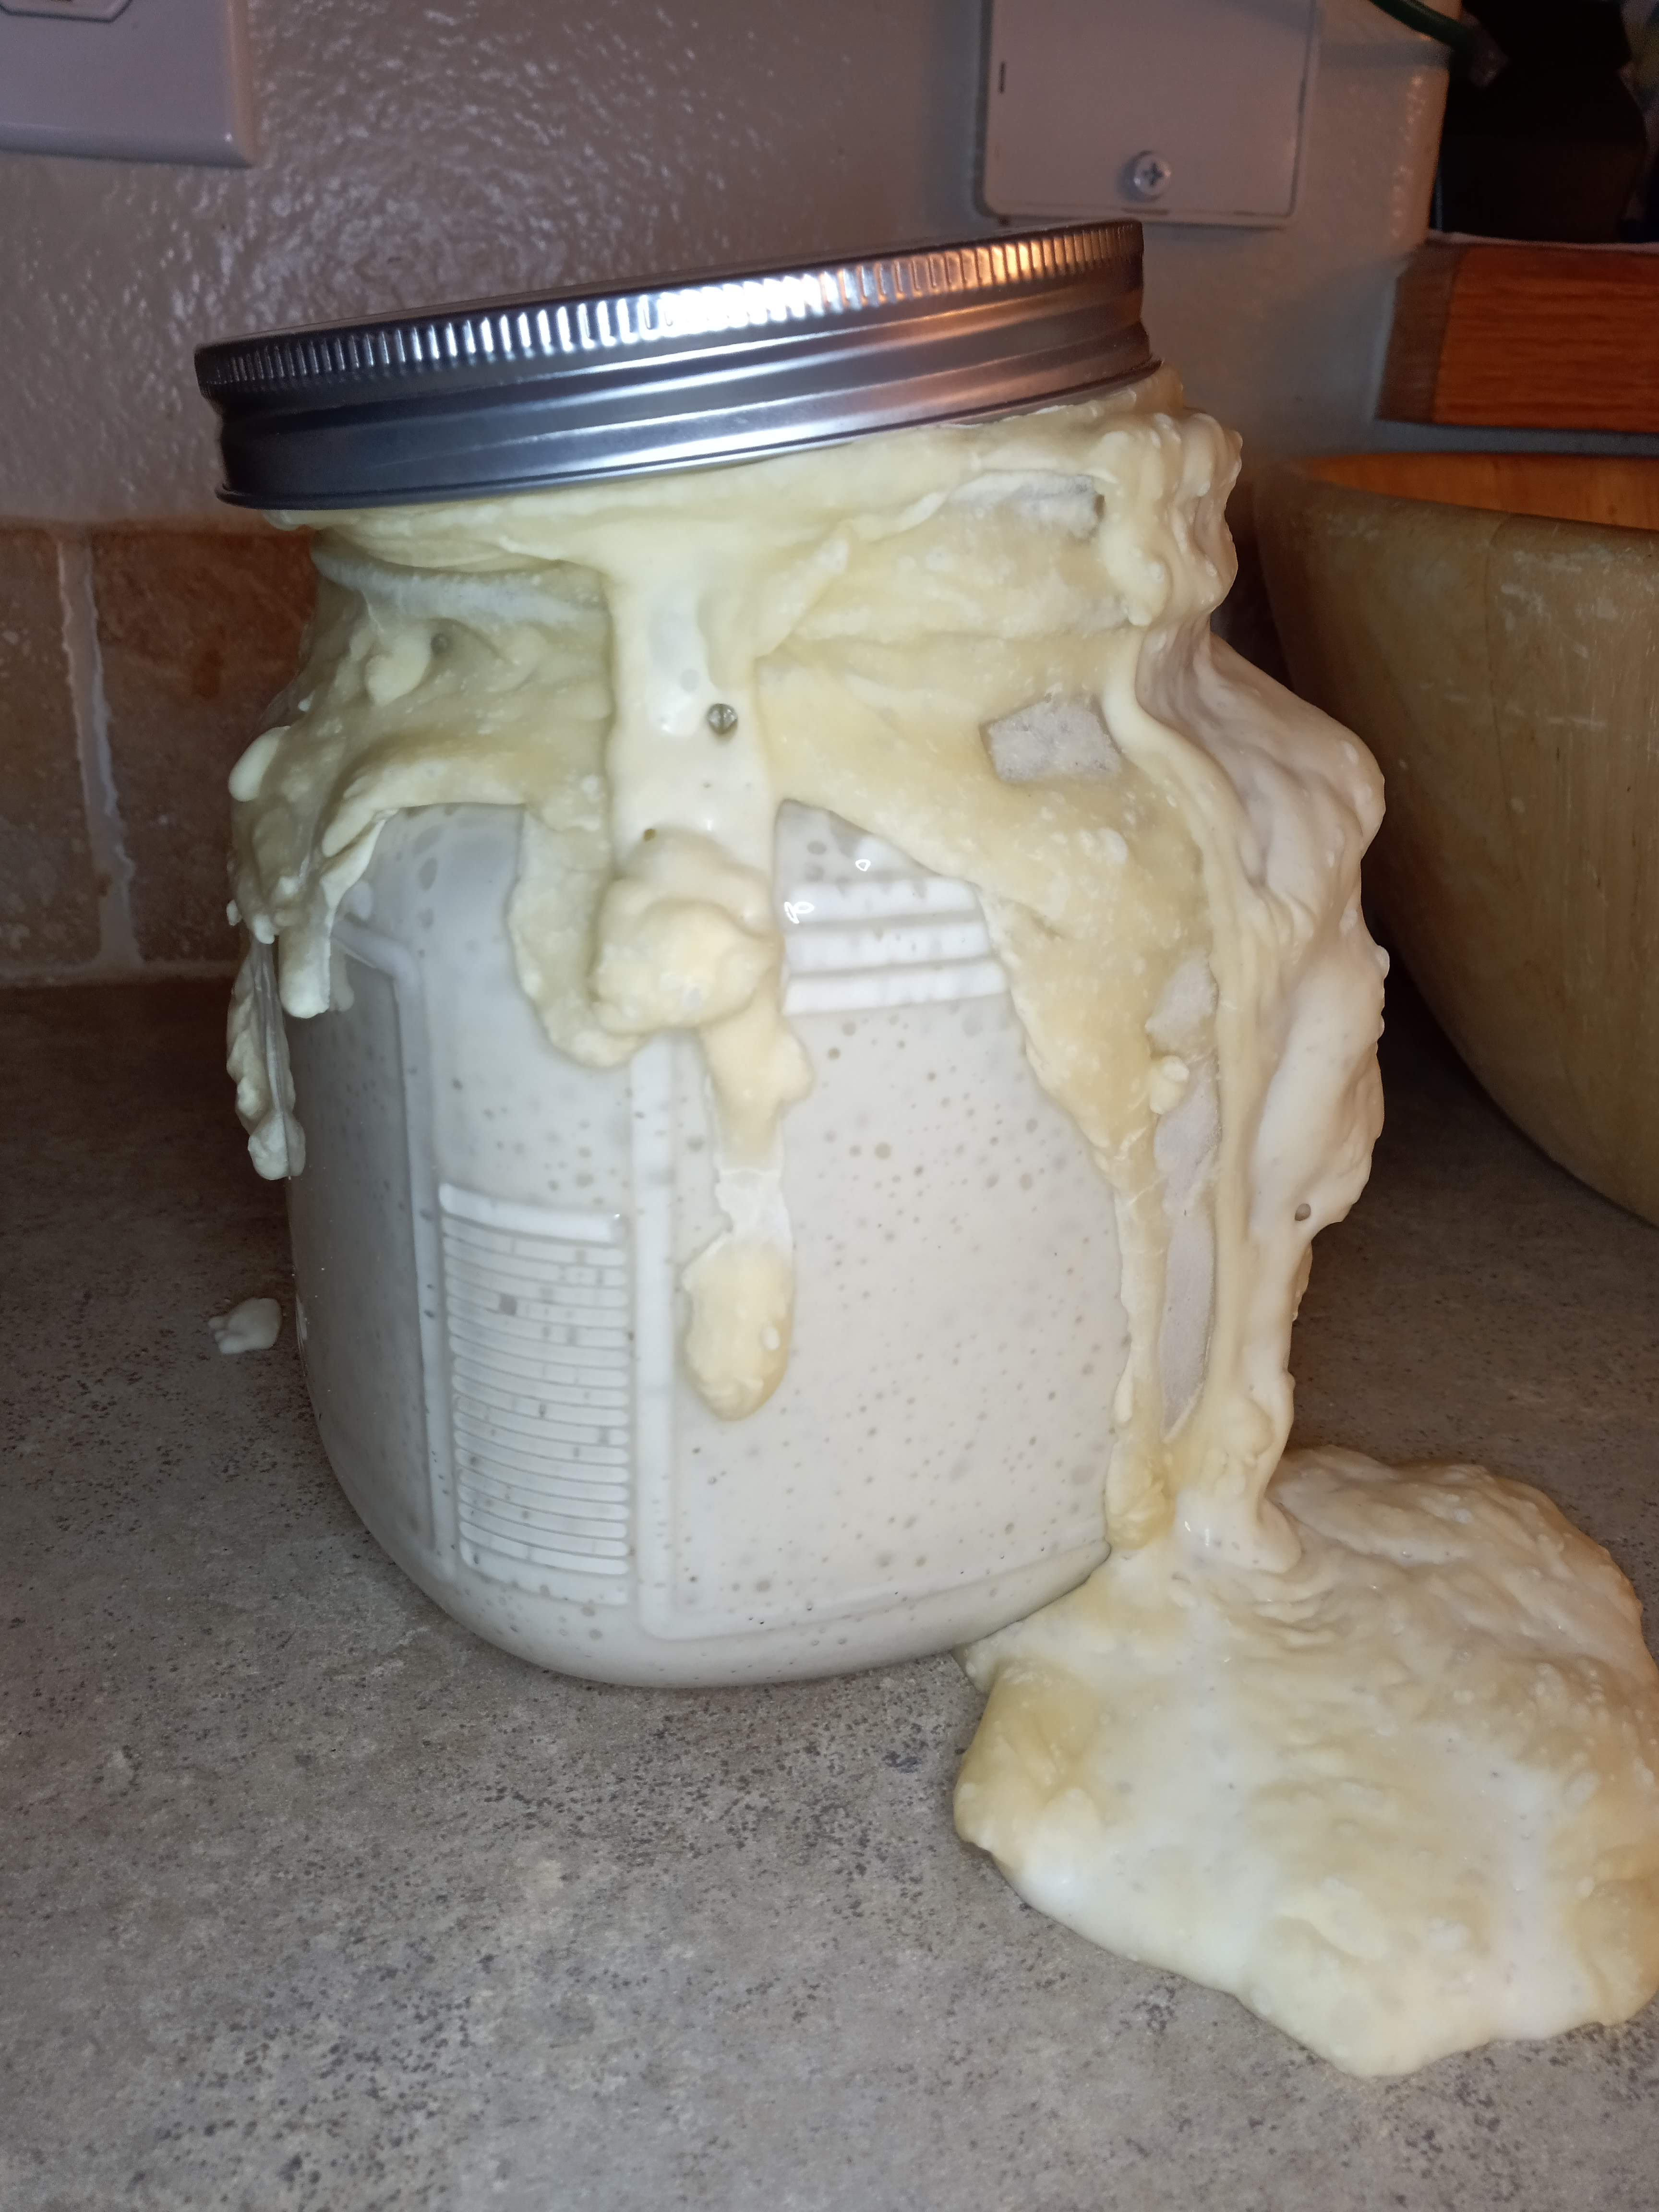
The reason I started making sourdough was because I felt like I finally found a bread without mess!
The good news? This can be quite true.
The not so good news? I have discovered that containing the sourdough mess does not come naturally to all SD bakers.
Maybe I’m just a natural clean freak, maybe it’s just a style choice. Either way, I’m here to offer some valuable tidbits of wisdom to make your SD baking life more pleasant 🙂
Note: This page contains Affiliate Links. If you click on any of the items and make a purchase, our family will receive a small commission at no extra cost to you. I will only ever link items I use or would buy for myself after thorough research. Thank you for your support! Happy Baking!
10 tips for dealing with Sourdough Mess
#1 – Have the right starter “home”
If your starter is a pet (even if it is the “world’s most boring” one*), needing regular feeding and care, shouldn’t they have a proper home? (See end of post for links to all my favorite jars)
- Figure out your baking style/goals.
Knowing what size starter you want to maintain is important to this process. It will determine what size jar you need to keep.
- Have 2 jars
You will want to have 2 of these jars (- to switch between when you feel like cleaning the other one, or to refresh/remeasure your starter)
- Your Starter’s “home” needs to be 3-4 times larger than your base starter size
That way it won’t overflow when it rises to its peak height.

- Jar style matters
Use a clear, wide mouth jar with a one-piece, completely removable lid (not a lid and ring combo). Also, not recommended are the gasket, snap top jars. The lids on those can easily break (causing glass shards to contaminate your starter). They are also difficult to work with during cleaning and feedings.


Look for as many smooth surfaces as possible, avoiding grooves, wires and any unnecessary decorations that don’t look fun to clean…. because at some point you are going to have to.
Tall, skinny jars provide a more exciting visual experience (because the rise looks exaggerated) but can be a little difficult to mix in and clean. Don’t use jars you can’t comfortably fit your whole hand, plus a spatula, in the top.
#2 – Use a single bowl….
And never take the dough out – until you are ready to form your loaf. Make sure the bowl is big enough to contain at least double rise.

This means: Choose a Stretch & Fold or Coil Folding method over Slap-and-Fold or Kneading (especially for beginners)
#3 – Use WATER
Wet your hands, wet the surface of the dough, save out 25-50g of the water called for in the recipe and add it during S&Fs, Coil Folds, or bulkproofing. (Water should be fully absorbed before forming loaves).
Water and sourdough are best friends. Don’t be afraid of it.
Want a tool? Maybe consider buying a tiny misting spray bottle – and use it! (Just fill with water and use it to put a minimal, even coat of moisture on your hands, your counter top, and/or your dough surface.)

#4 – Get a Dough Scraper
Use it to mix your dough (especially high hydration dough), to scrape down the sides of the bowl, and your hands, and your countertop. Use it to cut your dough, move your dough, shape your dough, and love your dough.

Also, use it to get all the flecks of stubborn residual dough off your bowl, or any other sourdough soiled surface, when you wash them – to avoid dough filled sponges.
If you don’t have one, get one… yesterday!
You’ll thank me later.
Here’s the link to the one I use: Ateco Bowl Scraper (Set of 2)
#5 – Use special proofing towels
These are inexpensive and incredibly versatile, not to mention indispensable for pleasant breadmaking – IMHO. They are thick enough to prevent the dough from sticking in any dish, yet versatile and allow for never having to buy fancy proofing baskets – if you don’t want to.
With one of these, any smallish size bowl (about 8” diameter) can become a proofing basket.
They are also thin enough to allow the coveted banneton rings to show (if you choose to proof in a banneton). Which also helps prevent fear of dough sticking to bannetons, mold, and worrying about adequate banneton seasoning.
Using special towels means you rarely, if ever, need to wash them (as long as they are well seasoned and completely dry before storing). They can also easily be thrown away and replaced should any potential disasters occur (or shaken out and bleached. No fabric softener, please.).
Here is a link to the ones I use: Proofing Towels
To salvage towels if your dough sticks to them for any reason:
Lay towel flat and allow dough to dry completely. Any residual stuck dough should peel out easily – likely even in one piece.
#6 – Season with Rice Flour
When I first started Sourdough I did not know this tip.
OMGOODNESS, what a difference!
I went overnight from my loaves sticking to the towels EVERY TIME, no matter how much flour I used, to NEVER again having a sticking problem. Period. Even when I fridge proof for over 36 hours!
TALK. ABOUT. AWESOME!
Rice flour is NECESSARY for this process.
It is completely different from ordinary wheat flour since its capacity for moisture absorption is much higher.
But, you also have to know how to “season”.
- Spritz about an 12-18” diameter circle in the center of your clean proofing towel with plain water.
- Sprinkle damp area evenly with a light dusting of rice flour.
- Use hands to gently pat flour into towel and ensure even coat that covers ENTIRE wet surface
- Lay flat and allow to dry completely before storing.
Sprinkle again with a light dusting of rice flour any time you feel like the “seasoning” is wearing off… I do mine about every 3-5 uses.


Note 1: Re-season when needed
Your towels will already be moist when you flip out a loaf, so that is a great time to season them if they need it, lay flat and allow them to dry completely. Store flat.
Note 2: Seasoning a Banneton
Seasoning your bannetons and banneton liners would be exactly the same procedure, except you might need a bit more flour (than you did on the towels).
Note 3: Keep rice flour on hand
Storing your rice flour in a shaker can make keeping your towels seasoned easy and convenient. I like this one with a lid.
Note 4: In addition to seasoning your towels, dust loaves with flour
Before placing your loaves into seasoned proofing towels, lightly dust the surface of each formed loaf with regular flour.
#7 – Lightly dust the bottom of your loaves with flour (or cornmeal) before flipping them out of the proofing baskets
This prevents loaves from sticking to your pots or to parchment paper. Trust me, once they stick they are REALLY hard to remove. In my experience, it is only when my loaves have damp or moist spots when I put them in the pans that I have a problem with sticking.
Also, your Dutch Ovens should be seasoned before use, to prevent sticking. See manufacturer instructions.
# 8 – Soak everything immediately
Before putting any sourdough tools in the sink, scrape off as much excess dough as possible with your dough scraper or stiff spatula (throw any dough scraps/remains in the compost or trash) and soak bowls in water.
If nothing has dried on, you should be able to simply rinse them out and, with barely any effort at all, have clean bowls pretty much immediately.
#9 – For dough or starter that has dried on:
Try to pick off as much as possible with dough scraper or table knife BEFORE washing. (Save, Compost, or Trash dried bits.) THEN soak.
If the dried dough is on the OUTSIDE of your jar, just put the whole thing inside a larger bowl to soak. Once it is loose enough to pick off with dough scraper, table knife, or finger nails (Come on – you know you do it!), scrape it off and wash as normal.
#10 – NEVER pour discard or unnecessary sourdough waste down the drain…
Unless of course, you feel like replacing your plumbing.
Scrape everything you can into the compost or trash and make sure everything you wash is well diluted before rinsing away.
Preform regular drain care maintenance to avoid build up – especially in disposal systems.
Bonus Tip!
When making loaves with additions (ie. garlic, chocolate, fruit, oils, herbs, cheese, etc):
Consider lining your proofing baskets with parchment paper (on top of your proofing towel). The towel will help control moisture, and the parchment will keep your towel from contamination.
Towels that get residue on them, not flour or water, can be prone to mold.
This same tip goes for bannetons. If you are making loaves with additions, please do not proof directly in your banneton.
How do you deal with your “sourdough mess”?
Leave a comment if you can think of any tips I missed below!
Special Links: Fun tools to minimize your sourdough mess
Best part is, they are all SUPER practical, easy to store, and inexpensive!
- Sourdough “Home”: Large size (Everything Sourdough), Medium Size (Faithful baker), Small Size (Hobby Baker)
- Dough Scraper or Stiff Spatula
- Proofing Towels (These can also be used to replace paper towels in your kitchen if you are trying to go paperless!)
- Spray Bottle
- Rice Flour Shaker (I love that this one has a lid and no small crevices to clean. Dough comes right off the outside!)
- Drain-O 😉
- For Links to Bannetons, Dutch Ovens, or my other favorite Sourdough Supplies. Check out my Supplies Page
Check out the rest of my Sourdough Series: