Your cart is currently empty!
How to Maximize Oven Spring – Sourdough Baking Series
The question is on every struggling newbie baker’s mind – How can I get better oven spring? How do I get that perfect ear? Why are my loaves coming out flat?
Well, here are your answers!
How to Maximize Oven Spring – 3 major factors
- Proof Properly (avoid under and overproofing your dough)
- Baking with Steam
- Scoring your loaves
Let’s look at each in detail:
#1 – Properly proof your dough
Avoid Underproofing Your Dough
For a while when I was learning, I didn’t understand the bulk fermentation process. I was afraid of overproofing, so I almost always underproofed. I didn’t know my dough so I didn’t know what to look for.
What to look for to avoid underproofing:
- Dough should not feel heavy or “dense” –
Underproofed dough tends to feel dense like playdough, or one of those heavy, squishy, sensory, anger management balls.
It is ready ONLY if it has tangibly expanded and feels “strong”, “happy” and “alive” – longer bulk ferments will even feel almost “bouncy” to the touch.
- If you added a salt water solution to the dough after mixing, that water should be completely absorbed (ie. the method made popular by The Kitchn)
- You should see visible bubbles in your dough – through the bottom of your proofing bowl or in the form of “blisters” trapped in the surface tension of the loaf skin.

- After forming your loaves – they need a sufficient final proof period
- For longer bulk ferment (“bowl full of bubbles” / overnight, or multiple days in the fridge method), your final proof can be a short rest (1-2 hours room temp, or 3-5 hours in the fridge).
- For shorter bulk ferment (“blistery skin test”/ during the day method), often consisting of fewer (at a time), but more frequent Stretch and Folds (every ½ hour or so), your loaves can withstand a much longer final proof time (in the fridge) – anywhere from 10-24 hours.
- Apply the poke test: If you gently poke your dough with your finger and the indentation doesn’t fill in very fast, or maybe at all, it’s definitely not ready
Avoid overproofing your dough
When dough has overproofed it has fully risen before baking. Oops. No wonder it doesn’t continue to spring in the oven.
If your dough has visibly more than doubled in size in your proofing basket, and when you poke it you are afraid of deflating it, it has overproofed. Good news, however, as long as the surface tension hasn’t completely disintegrated and you can remove the loaf from your proofing baskets, it should be salvageable (just bake hot and don’t try to slash the top).
Extremely Overproofed dough may start to look bubbly, or soupy, and there will be little remaining surface tension to speak of.
Read How to avoid Overproofing my Dough for more information on this.
# 2 – STEAM
Your dough needs steam to rise.
If you are baking in a Dutch oven (or other covered pan/pot) the steam comes from inside the loaf itself – Yes! The high hydration of your dough DOES have a purpose! 🙂
If you are baking on a baking sheet or a stone, you will need OODLES of extra steam to make sure your dough is able to rise before hardening off (See “How to Master my Perfect Bake“)
Be careful when working with steam because it is everywhere and often burns.
I highly recommend covering your bake (baking in a dutch oven or other covered pot) so that you can avoid working with open steam. If you plan to bake regularly, and only 1-2 loaves at a time you should definitely think about investing in a good baking pan. You can often find these items for good prices at garage sales, on Craigslist, Facebook Marketplace or comparable sites, and at second hand stores – But if you want new, I have linked my favorite ones on Amazon here.
If you have exhausted all the above options and still feel the need to create a steamy environment in your home oven, here are a few ways to make more steam:
- Fill a roasting pan with boiling water and rolled up towels (to increase surface area) and place it in the bottom of your oven for at least the first 20 minutes of your bake time.
- Preheat a large cast iron pan filled with lava rocks in the bottom of your oven and splash a couple glasses of water on it immediately after putting in your loaves (Please, be careful!)
- Add icecubes to your baking stone or even your dutch oven (outside the parchment paper) for added “oomph”
- Use any oven safe pot and place it upside down on top of your loaf on a baking stone or baking sheet in your oven to act as a lid – you can put a couple ice cubes underneath your pot in this method as well.
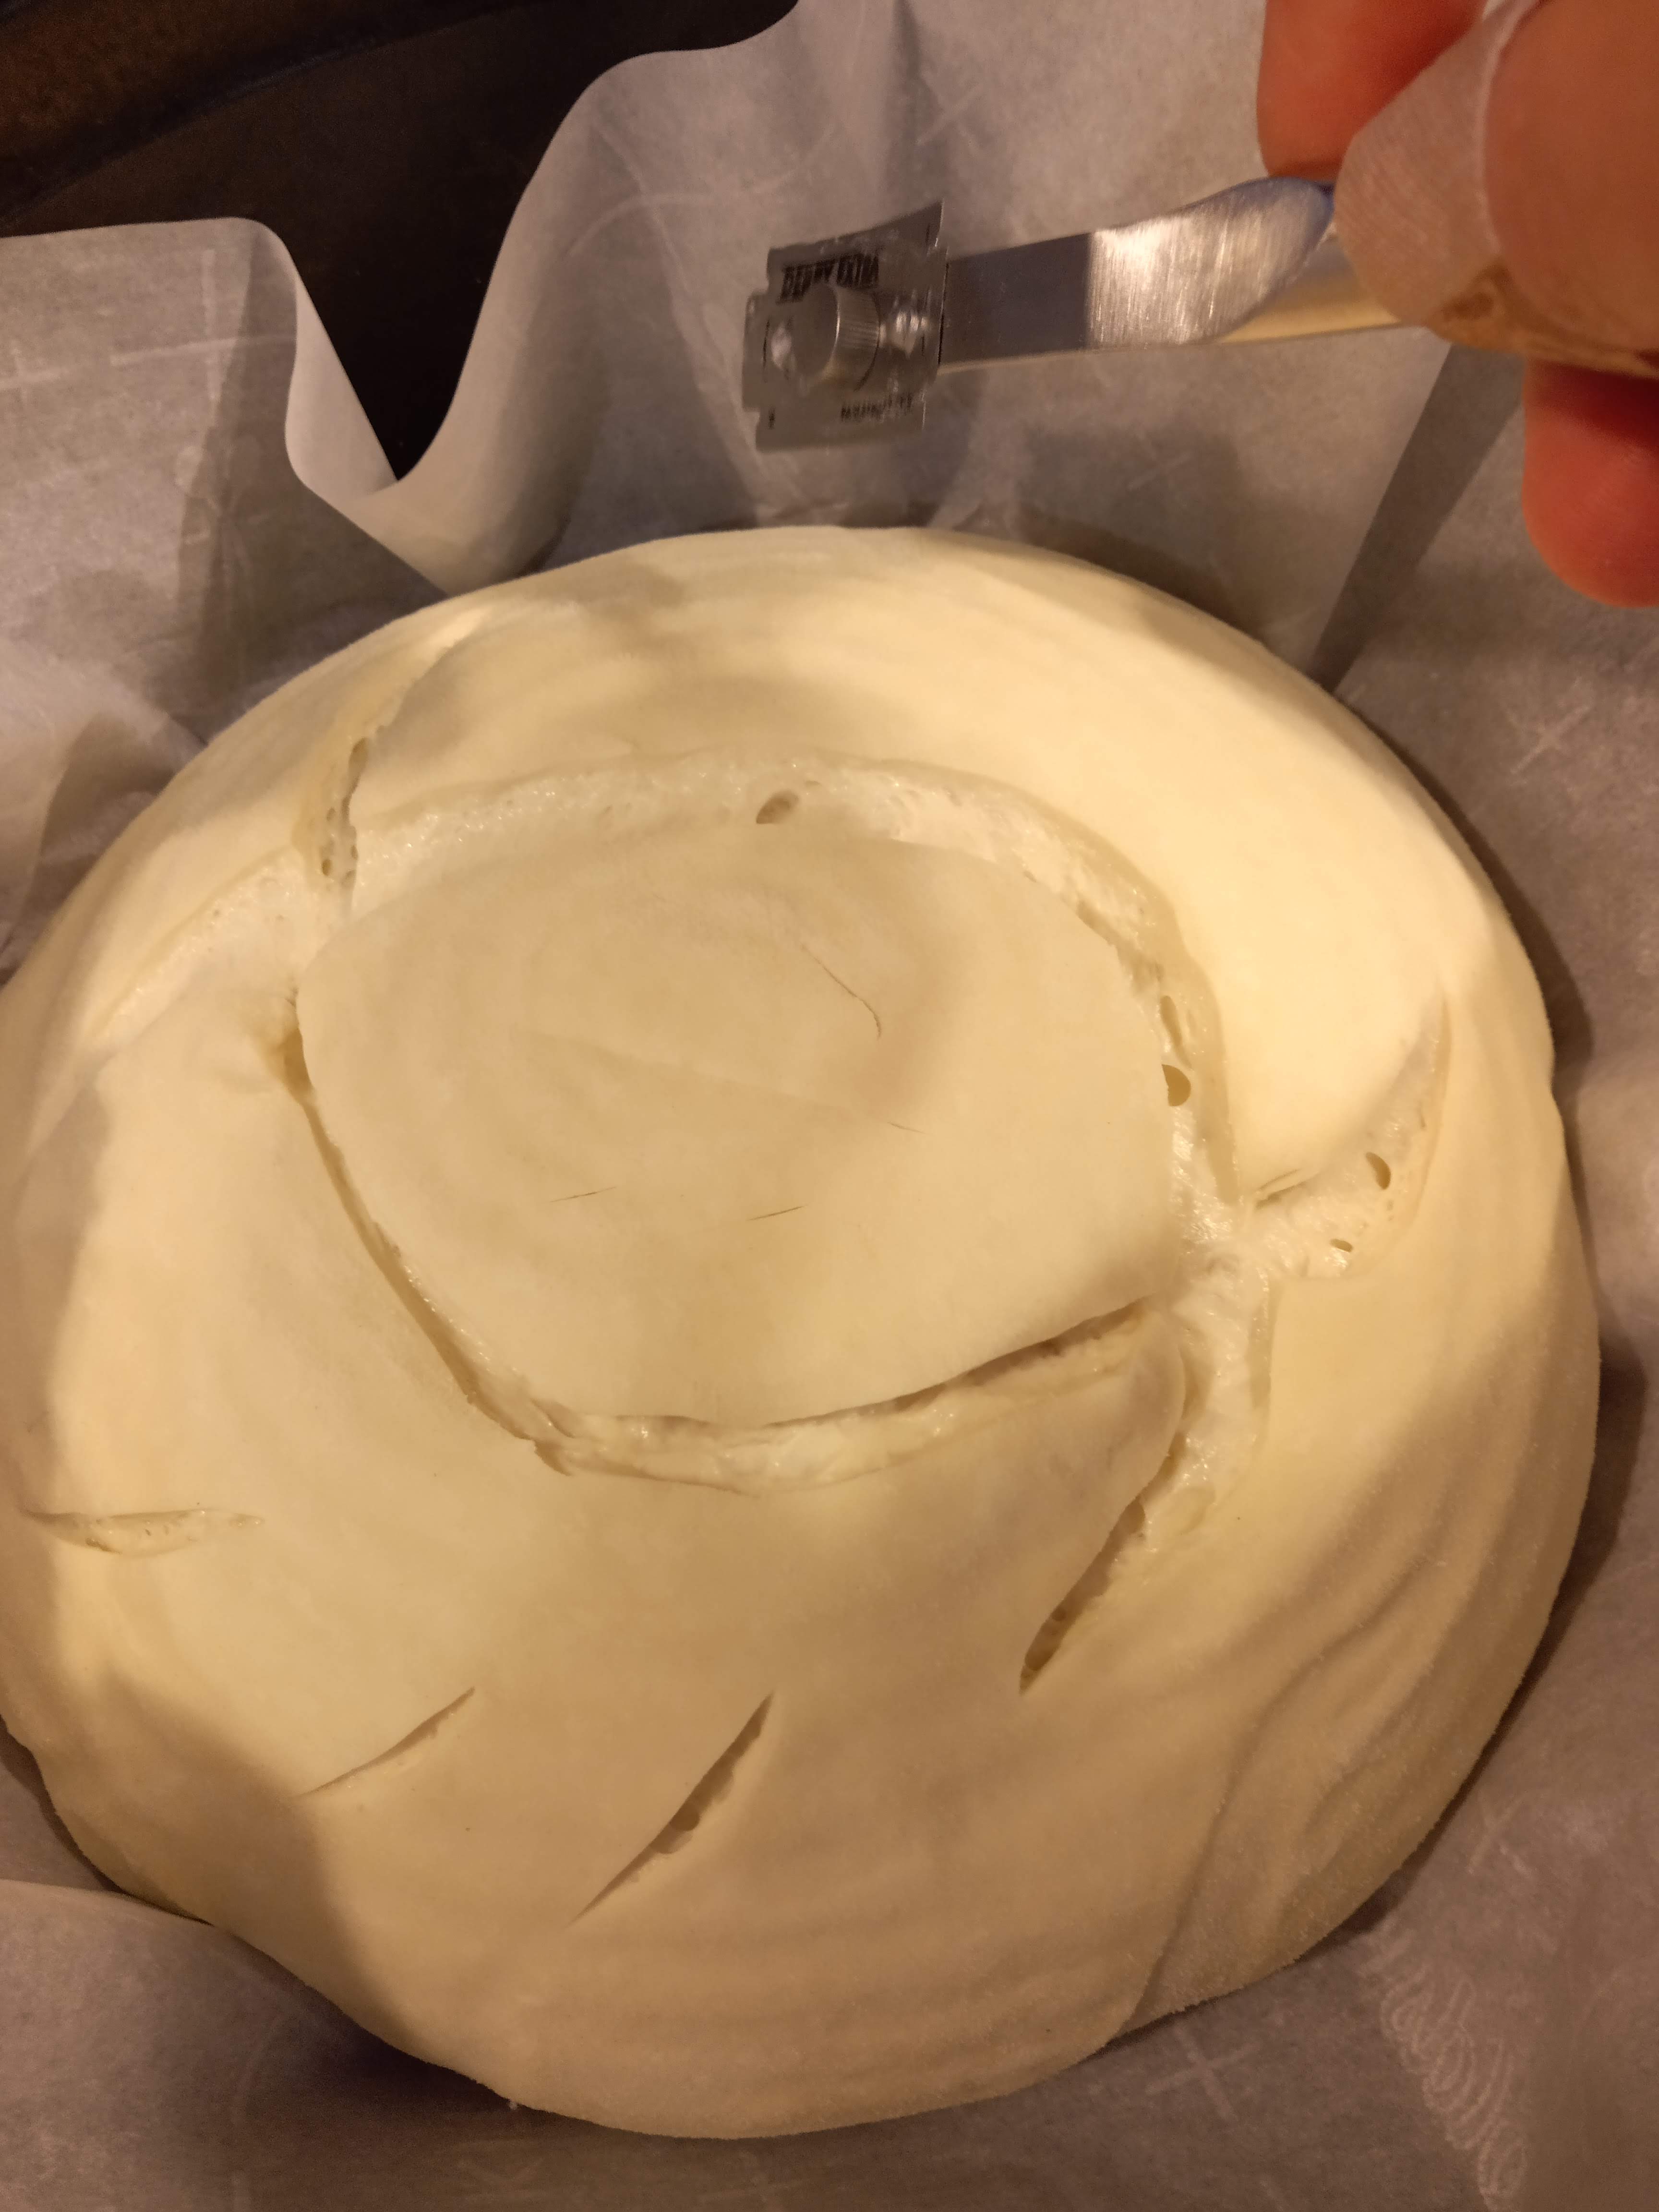
#3 – Scoring to maximize oven spring
Scoring is commonly called the “baker’s signature”. There is no official rhyme or reason, right or wrong way to do it. There are lots of great videos and examples all over Facebook and Instagram if you search
Still there are some tips:
- Use an extremely sharp knife – bakers call this tool a “lame” (pronounced “lahm”) – to avoid smashing your bread (you can also just use a razor blade or a regular sharp kitchen knife (although most bakers would probably concede that no regular kitchen knife is quite sharp enough after a few tries). Please be careful not to cut yourself.
- If you cut at an angle to your bread (/ as opposed to |) you will get a better ear.
- Cut more than one slit to give your bread room to rise.
- Oven spring happens in the areas you cut, proportionate to how deep you sliced. For example, if you make a giant gash down the center, it will (most likely) give you a giant spreading ear. If you make tons of tiny cuts in patterns of hearts or flowers, it will spread evenly over the entire loaf.
- If you do not slash your bread, you may have a problem with trapping your dough inside and creating a dense or gummy bread, or a loaf that bursts in random places.
How do you maximize your oven spring?
Did I miss any good advice? Comment below!
Read also: Achieving the Perfect Bake for more information on crust texture and etc.
and Check out my favorite Sourdough Baking Supplies here!
One response to “How to Maximize Oven Spring – Sourdough Baking Series”
Please send me an email requesting specific idea you would like to use. I usually have no problem sharing my work as long as it is cited and links back to me.